While I will do everything possible to keep online music lessons as enriching and enjoyable as possible, there are a few things parents and students can do to improve the experience.
Device

Tablets can be moved to the music stand for reading exercises 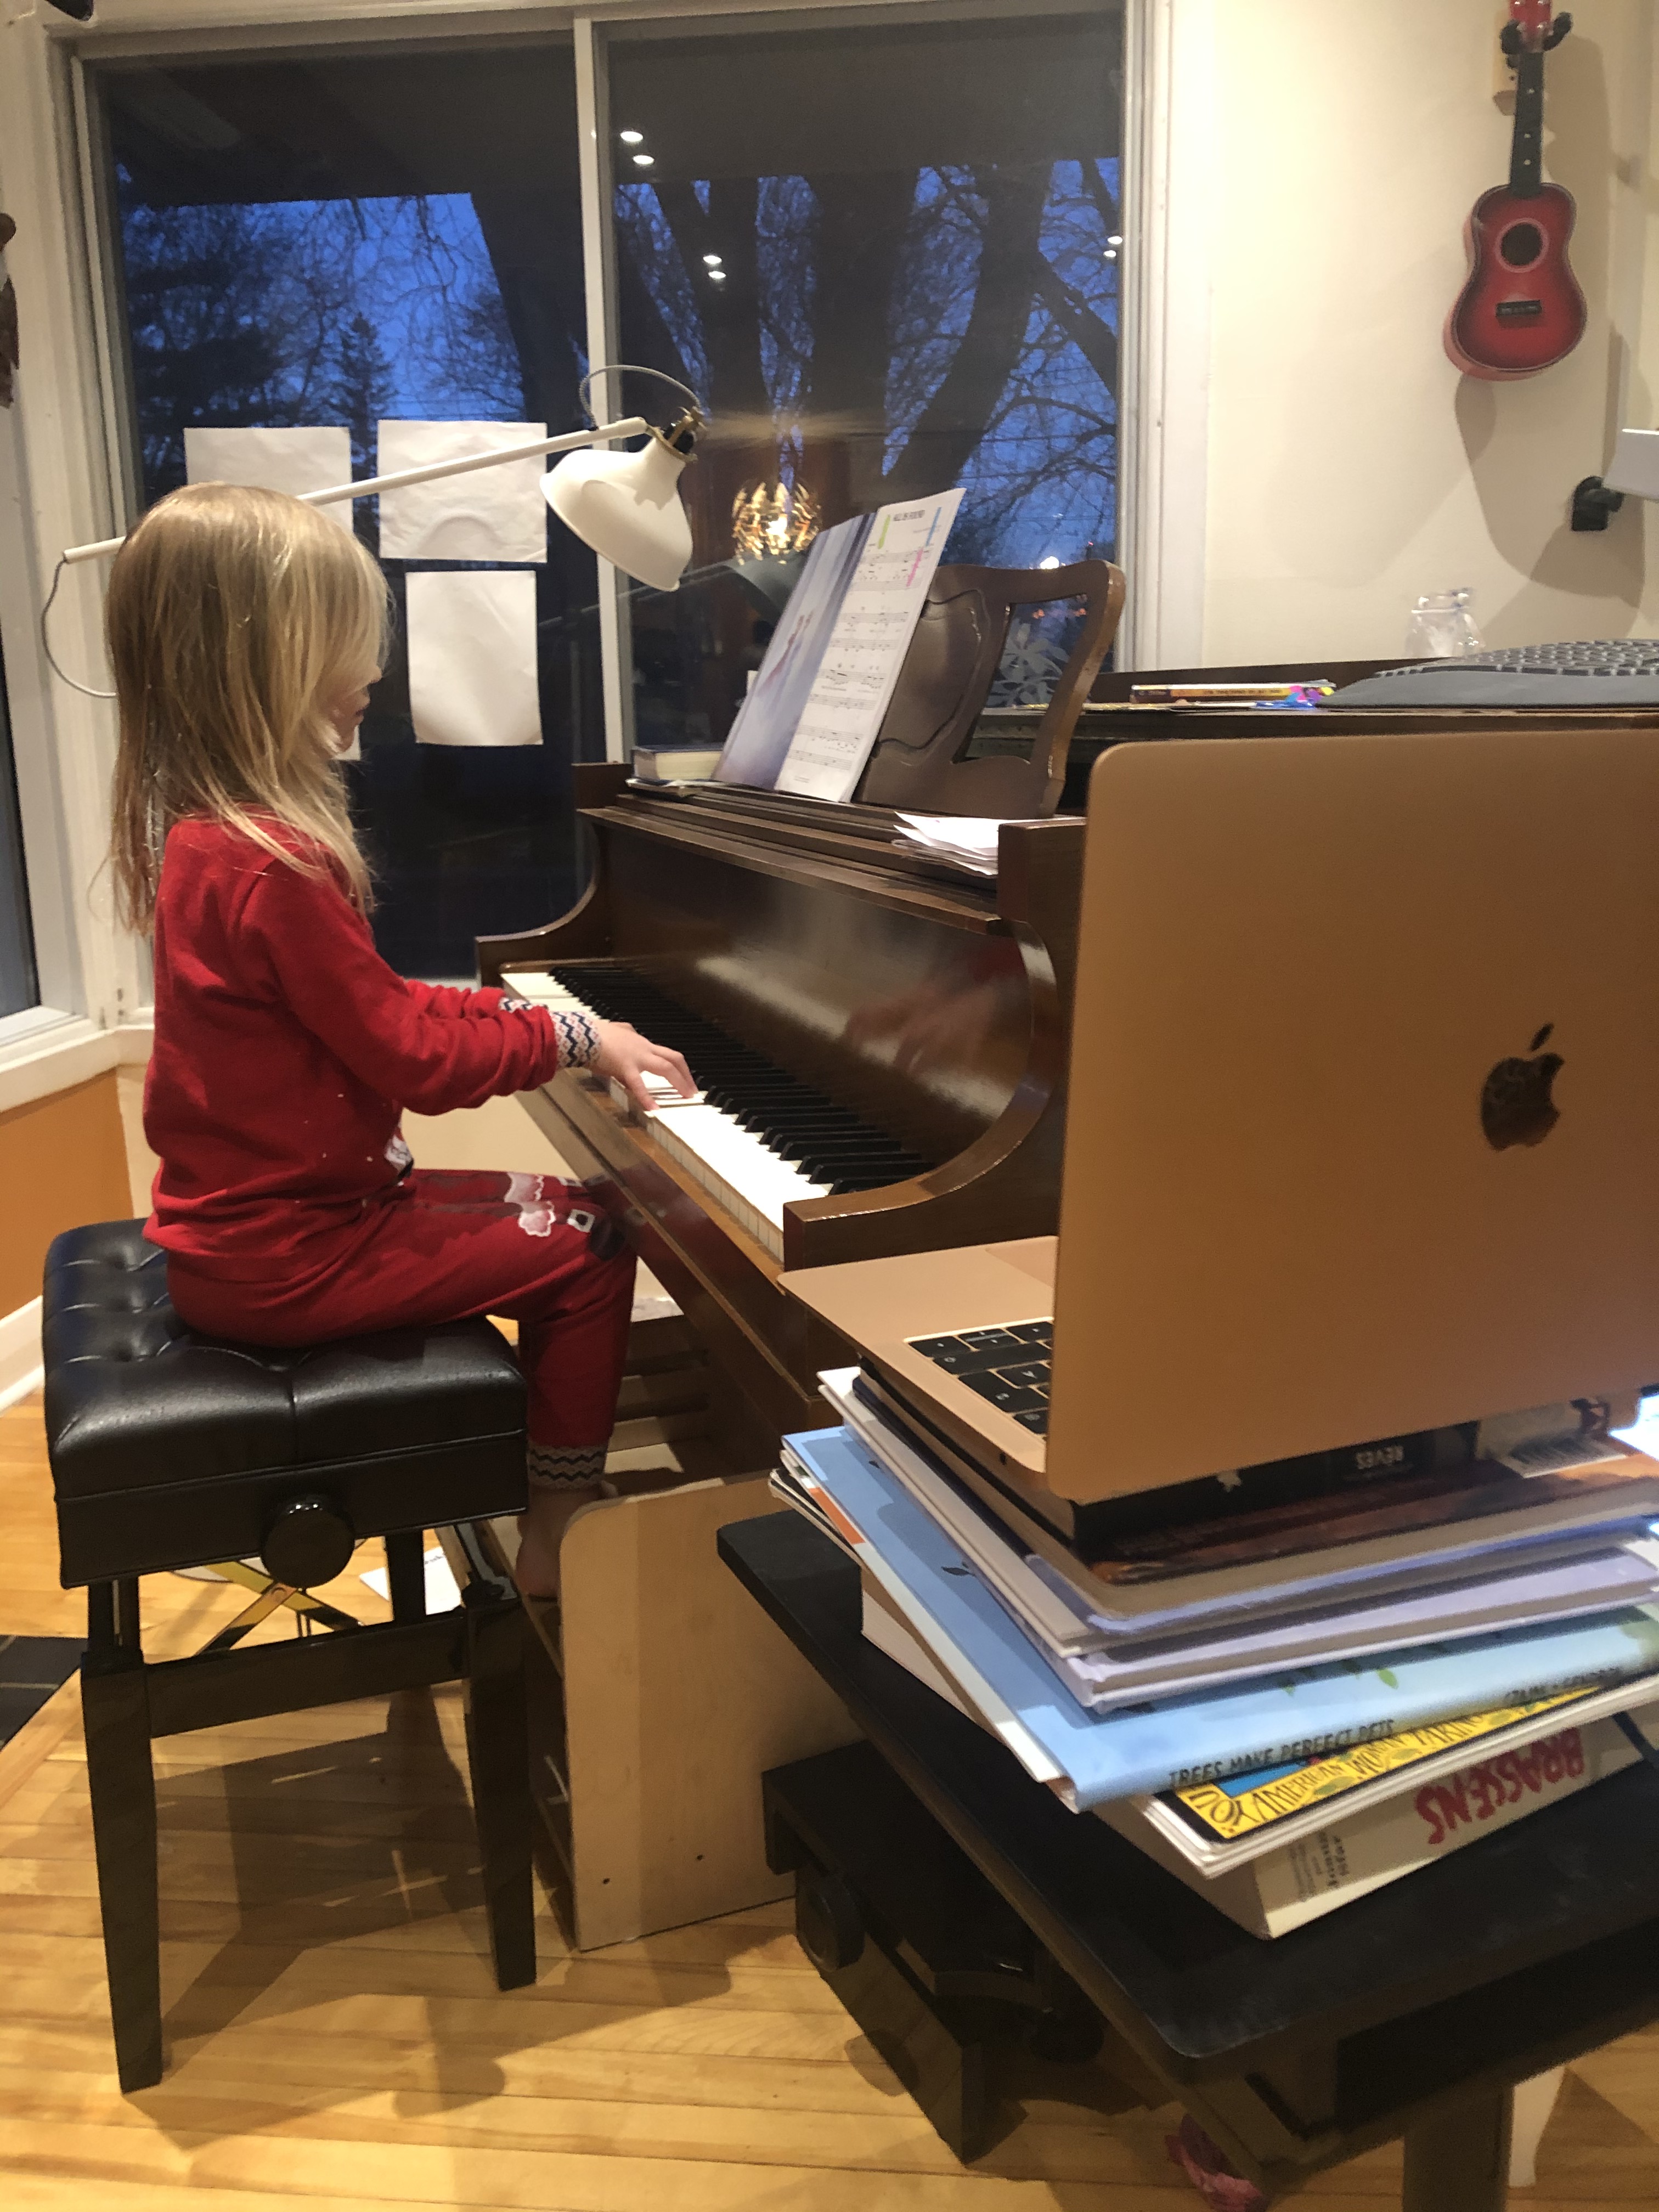
Laptops are sometimes easier to angle towards the student
While a computer, tablet or phone can all work, a tablet is often the best option (if you have something to support it). The larger size means that the student can see the teacher (me!) more clearly, as well as any exercises I might share on the screen. But the portability means it can be moved to the music stand for sight reading exercises. This flexibility also allows for a little more moving around for small children, as long periods sitting still can be difficult for online lessons.
That being said, laptops often allow you to control the angle more easily than tablets when no support is easily available.
If possible, place your device in Do Not Disturb mode for the lesson.
Position
For piano, try to get a side view of the student, ideally taken from about shoulder level and able to see the key tops to the top of the head (see images below). While seeing the hands is important, seeing the eyes is more important for good communication. Keeping the device further forward towards the piano means the student doesn’t have to turn their head as far to see the teacher (see images). Avoid having the camera face into direct light (see image).

Student can look comfortably at camera (device further forward) 
Device too far back – student must turn head too far to see teacher 
Too much light facing camera 
Ideal position for online lesson
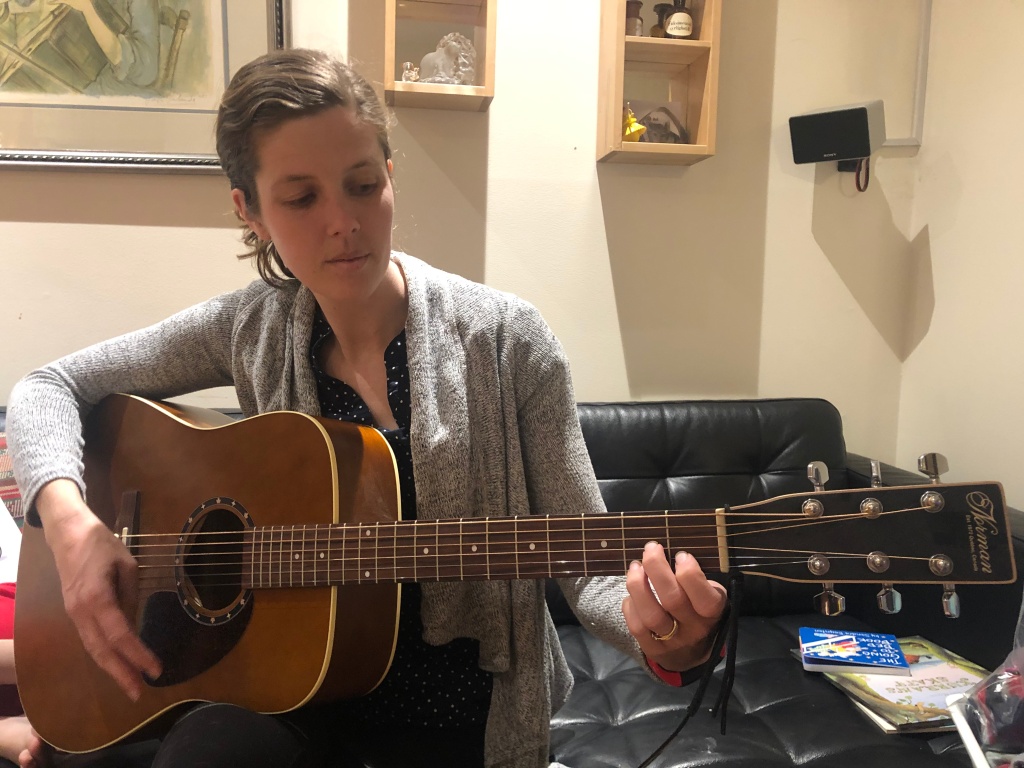
For guitar, keep the camera far enough back to see the fretting (left) hand, the strumming (right) hand and the face.
In most cases, it is best to have the device in landscape rather than portrait mode. This is the mode I will use, and so by using the same setup, we avoid creating black bars on the sides of the screens.


Software

I use the software Zoom, which offers many powerful features I can use during lessons (including screen, iPad, and audio sharing) and in which I can use multiple different cameras to demonstrate technique from different angles.
Most meeting software uses algorithms to filter out “unwanted” noises – unfortunately, many of these “unwanted” noises are often the very essence of musical sound. To allow the teacher (or anyone else) to hear you play music, it’s best to turn on original sound, which turns off many of these filters and allows more of the music to be shared through the internet. (For instructions on this, see below)
Digital pianos don’t have to be very loud to effectively convey sound online, and often a quieter volume will transmit better than one that’s too loud.
Please avoid using virtual backgrounds for most lessons – they’re a lot of fun, but the prevent me from seeing the piano keys in most cases.
Turn on original sound

To enable original sound (recommended), please see Zoom’s article on it. This can be done both for laptops and mobile devices (make sure to update to the most recent version). There are two steps to this either way: making the option available in the software settings (you only need to do this once), and then turning it on in each in lesson.
